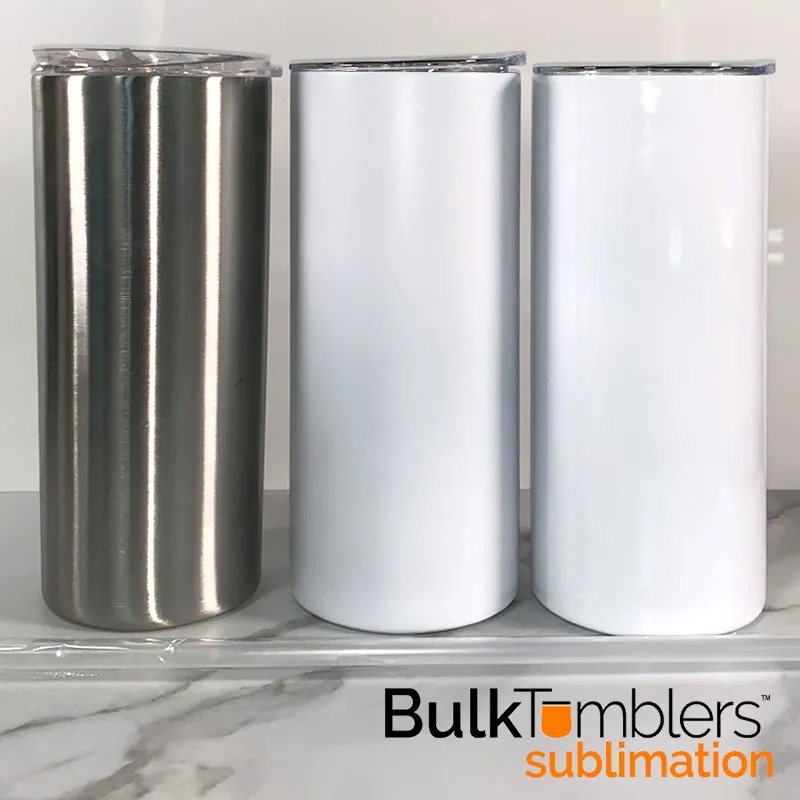
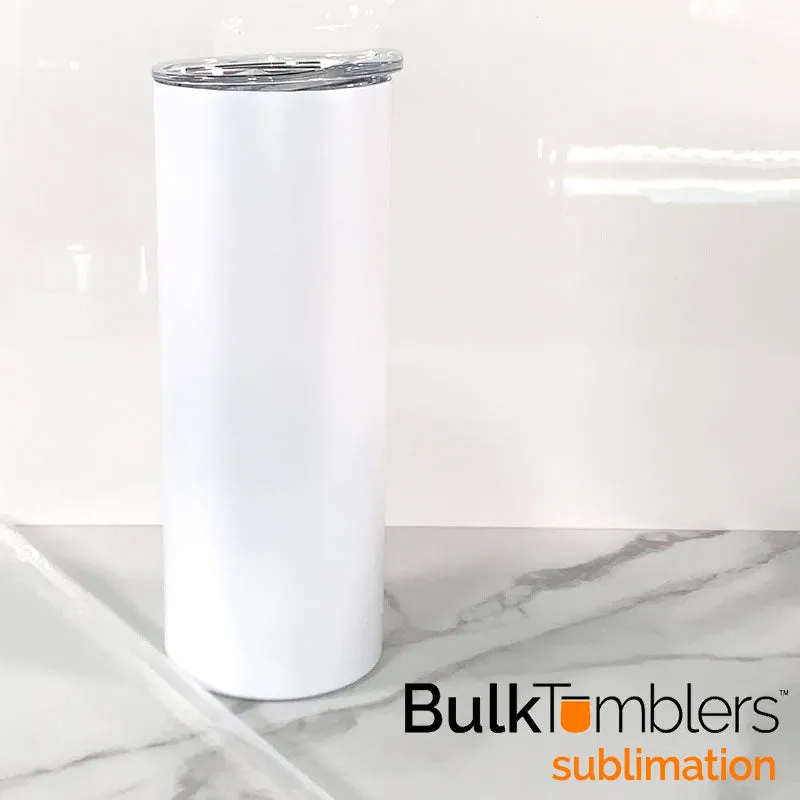
20 oz Sublimation Tumbler - Straight Skinny Stainless Steel
20 oz Stainless Steel Skinny Tumbler with Lid and Straw features double-wall vacuum insulation with a clear sliding lid and straw. NO TAPER to make designing easier!!! The mug fits most standard cup holders. It is 2X heat & cold resistant compared to a normal travel mug and is BPA and lead free. Made from 18/8 gauge stainless steel (18% chromium/8% nickel) - also known as Type 304 Food Grade.
2.92" diameter, 8.125" tall, not including lid.
USING A MUG PRESS:
Note: Because not all mug presses are created equally the dwell time in a
press can vary. The settings below are based on a GKDK3 mug press from George
Knight.
2nd Note: Be sure that the artwork does not go beyond the size limits of the
mug press.
3rd Note: Because of the gap where the mug press closes you will not be able
to have the artwork wrap around the entire tumbler.
Supplies needed:
- sublimatable substrate (mug)
- sublimation transfer
- scratch paper
- heat tape
Mug heat press settings:
- temperature - 380 degrees F
- dwell time - 1 - 1:15 minutes
- pressure - light to medium
Steps:
1. cut your transfers so that the transfer is slightly larger vertically than
the tumbler.
2. Position the substrate onto the transfer.
3. Tape two ends of the transfer allowing for the gap in the mug press where
it will close.
4. Wrap a piece of scratch paper around the transfer and mug taping if
necessary.
5. Center the transfer and tumbler in the mug press.
6. Close the mug press using the heat press settings above.
7. Remove items from the press immediately. Use heat resistant gloves if
necessary - the items will be very hot.
8. Remove transfer and scratch paper.
Tips:
- If the image of the final product appears light increase the pressure or
the dwell time slightly (10-15 seconds).
- If the image on the final product appears blurred or substrate appears
yellowed or has brown spots on the rim of the top or bottom of the mug reduce
the dwell time slightly (10-15 seconds).
- Too much pressure can cause trapped moisture in the paper to "jet" away
pulling ink with it in a spiked-peaked formation. To avoid this reduce the
pressure.
- Take care when applying pressure as too much press can cause the tumbler to
bend slightly which will prevent the lid from fitting properly.
IN A CONVECTION OVEN:
Note: Because not all ovens are created equally the dwell time in an oven can
range from 6 to 9 minutes. Convection oven is recommended.Settings will vary
depending on the oven brand and model ink and paper and atmospheric
conditions.
2nd Note: Be sure that the artwork does not go beyond the size limits of the
wrap.
Supplies needed:
- sublimatable substrate (polar camel)
- sublimation transfer
- scratch paper
- Silcone Wrap (MGWRP6)
- heat tape
- convection oven
Oven settings:
- temperature - 375 degrees F
- dwell time - 5 to 7 minutes for plastic shrink wrap sleeve, 6.5 to 8.5 minutes for silicone wrap
STEPS:
1. Position transfer onto the substrate using heat tape to secure the transfer
to the substrate.
2. Cut a piece of scratch paper to tape over your artwork transfer this
protects your wrap from ink.
3. Use the silicone wrap (or shrink wrap sleeves) to secure the transfer to the Polar Camel start wrapping the Polar Camel by stretching and rolling the silicone over top of
itself. Make sure to start wrap in a non artwork area to prevent a line in
your artwork.
4. Put a piece of heat tape around silicone wrapped Polar Camel to secure
wrap.
5. Place Polar Camel in oven with recommended settings listed above.
6. Pull from oven and remove wrap and paper. Caution contents will be hot
use heat resistant gloves for safety.
Tips:
- If the image of the final product appears light increase the pressure or
the dwell time slightly (30-45 seconds).
- If the image on the final product appears blurred or substrate appears
yellowed or has brown spots reduce the dwell time slightly (30-45 seconds).
- To prevent plastic shrink wrap sleeves from sticking to the tumbler, make sure no part of the plastic is touching the coating on the tumbler, including the bottom. We use a scratch paper covering completely around the tumbler, and cut a 2.92 diameter circle to put on the bottom of the cup so the shrink wrap doesn't contact it anywhere.


